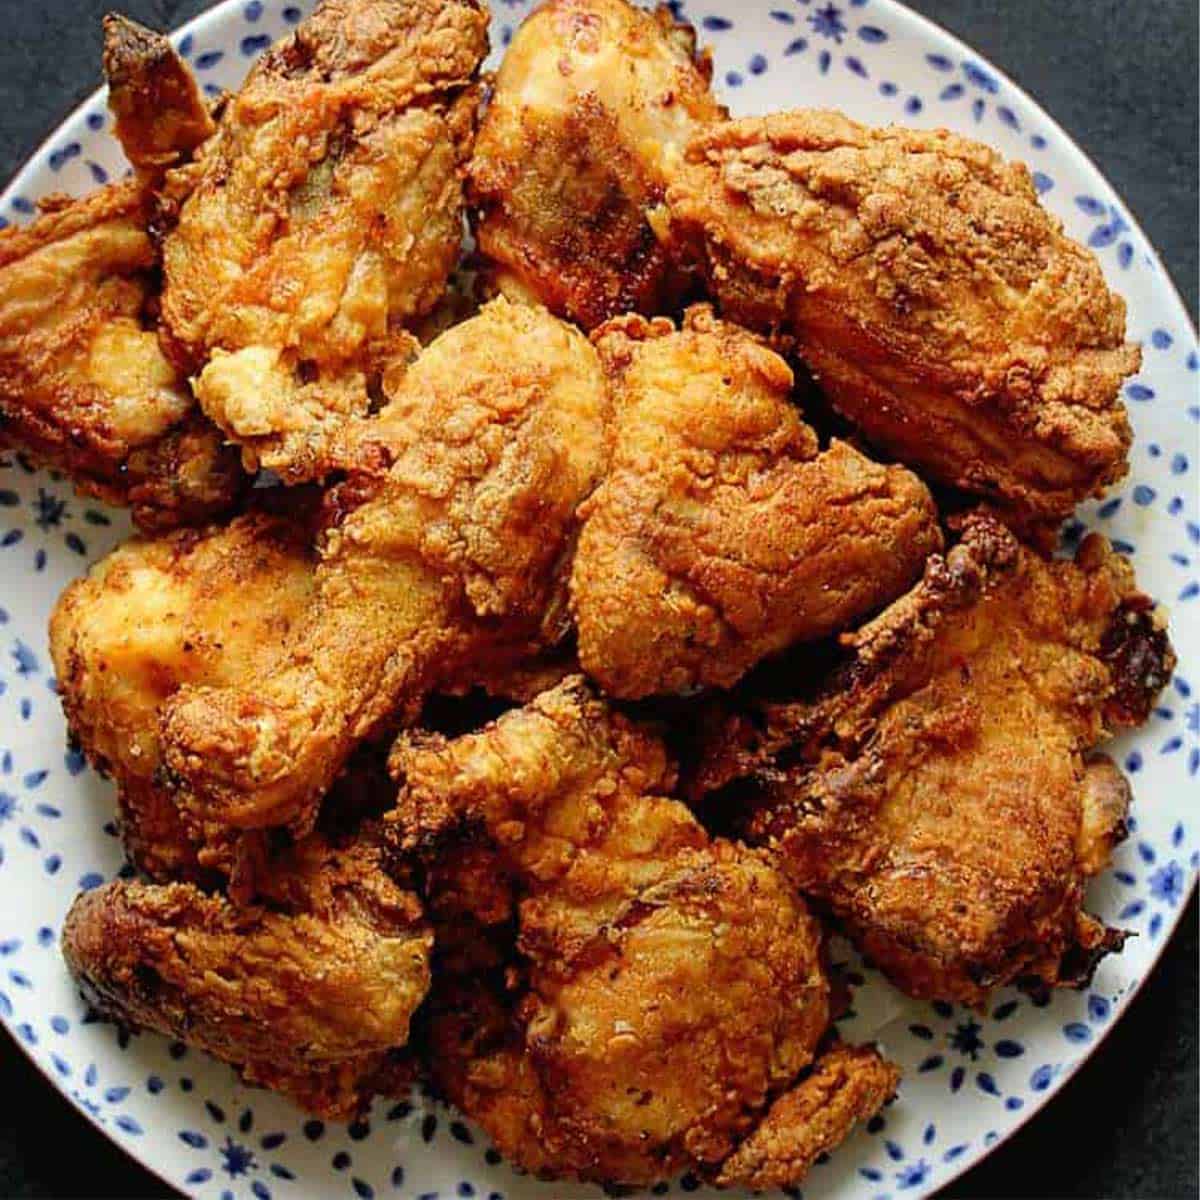
Making chicken nuggets at home is, arguably, a lot easier than many people think. For families looking for a quick meal or, perhaps, adults wanting a fun snack, these golden bites are always a hit. This recipe shows you how to get that much-loved crispiness and a truly good taste, right from your own kitchen. It's a way to enjoy a meal that comes together fast, and it offers a fresh take on a familiar favorite.
You know, there's just something about a chicken nugget that brings comfort. But, you see, not all nuggets are the same. When you make them yourself, you get to pick what goes in them, and that makes a big difference. This method, it uses simple things you probably have around, like chicken and some common spices. It means you can have a meal that feels good and tastes great, without much fuss, really.
So, if you're thinking about dinner tonight, or maybe a tasty treat for a gathering, this homemade chicken nugget recipe could be just the thing. It’s a bit of a game-changer for busy weeknights, and it’s pretty satisfying to make something so good with your own hands. Plus, they pair so well with, you know, just about any dipping sauce you can imagine.
Table of Contents
- About Melissa D'Arabian's Approach to Cooking
- Why Make Your Own Chicken Nuggets?
- Gathering What You Need: Ingredients for Homemade Nuggets
- Tools for the Job: Essential Equipment
- Getting Ready: Setting Up Your Breading Station
- Making the Nuggets: Step-by-Step Guide
- Achieving Perfect Crispiness: Frying Tips
- Serving Up Your Golden Bites
- Frequently Asked Questions About Homemade Nuggets
About Melissa D'Arabian's Approach to Cooking
This particular chicken nugget recipe draws from the style of Melissa D'Arabian, a cook known for making food that is both good to eat and simple to prepare. Her way of doing things often means getting a delicious meal on the table without needing a lot of complex steps or a long time. It’s about being smart with your time in the kitchen, and that, you know, makes a big difference for many people.
Her recipes, typically, focus on using ingredients that are easy to find and techniques that anyone can follow. The goal is to make home cooking feel less like a chore and more like something you can enjoy, even on a busy night. This chicken nugget recipe, in fact, fits that idea perfectly, showing how you can make something that tastes like it took a lot of effort, but really, it doesn't.
Why Make Your Own Chicken Nuggets?
Making your own chicken nuggets at home brings a lot of good things to the table. For one, you get to control what goes into them. This means you can pick chicken breast, which is a leaner cut, and use panko breadcrumbs for a lighter, crispier coating. It's a way to have a meal that feels more wholesome, and that, honestly, is something many people look for these days.
Then there's the taste. Homemade nuggets often have a freshness that you just don't get from the frozen kind. They burst with flavor, and the texture is something else entirely. They are, you know, truly crispy on the outside and tender on the inside. This recipe, in particular, aims for that perfect balance, making them a treat for both kids and adults, too.
Another big reason is the time factor. People sometimes think making things from scratch takes forever. But this recipe, it gets dinner on the table in about 25 to 30 minutes, from start to finish. That includes all the steps: getting the chicken ready, putting on the coating, and cooking them up. So, it's pretty quick, actually, for a homemade meal.
Gathering What You Need: Ingredients for Homemade Nuggets
To make these tasty chicken nuggets, you will need a few things. The main part is, of course, chicken breast. You want to make sure it's fresh and ready to be cut into pieces. This forms the core of your nugget, and its quality really matters for the overall taste. You can use chicken tenderloins as well, if that's what you have on hand, or prefer, too.
For the coating, you will need panko breadcrumbs. These are different from regular breadcrumbs; they tend to make things much crispier, which is what we want for a good nugget. You'll also need some all-purpose flour. This helps the coating stick to the chicken, creating a base for the breadcrumbs. It's a key part of the process, you know, for getting that even layer.
Next, you'll need eggs and a little water. These get beaten together to form a wet mixture, which acts like a glue for the breading. And then, for flavor, you'll need some seasoned salt, along with regular salt and pepper. These spices go into the flour mixture, making sure every bite of your nugget has a good taste. So, in some respects, these are very simple things, but they come together to make something special.
Tools for the Job: Essential Equipment
Having the right tools makes the cooking process smoother, and for these chicken nuggets, a few items are particularly helpful. A Dutch oven is, actually, a great choice for frying. It holds heat well and has high sides, which helps keep oil splatters contained. If you don't have a Dutch oven, a heavy-bottomed pot that is deep enough will work just fine, too.
Another tool that makes this recipe very efficient is a food processor. This piece of equipment helps you quickly blend the chicken, which is key for getting that classic nugget shape and texture. It saves a lot of time compared to chopping the chicken by hand. So, if you have one, you know, it’s a good idea to use it for this part.
You will also need a few bowls for setting up your breading station. Three bowls are ideal for this. One for the flour mixture, one for the egg wash, and one for the panko breadcrumbs. Having them lined up makes the coating process much more organized and, you know, less messy. A meat thermometer is also useful for checking the oil temperature, which is a really important step.
Getting Ready: Setting Up Your Breading Station
The first thing you want to do is set up your breading assembly line. This makes the whole process of coating the chicken pieces much easier and, frankly, keeps things neat. You will need three separate bowls for this. It's pretty straightforward, but it makes a big difference in how smoothly things go, as a matter of fact.
In the first bowl, you will put your dry ingredients. This means the flour, along with the seasoned salt, regular salt, and pepper. Give these a good stir together so that all the flavors are mixed throughout the flour. This is your first coating layer, and it's where a lot of the initial taste comes from, so, you know, make sure it’s well combined.
For the second bowl, you will prepare your wet mixture. This is where you beat the eggs and add a little water. Whisk them until they are well combined and look like a uniform liquid. This egg wash is what helps the breadcrumbs stick to the chicken, so it needs to be ready. It’s the sticky part of the process, really.
The third bowl is for your panko breadcrumbs. Just put them in the bowl; there’s nothing else to add to them. These breadcrumbs will give your nuggets that lovely, crispy outer layer. Having these three bowls lined up, one after the other, means you can move from flour to egg to breadcrumbs in a smooth motion, which is, honestly, very efficient.
Making the Nuggets: Step-by-Step Guide
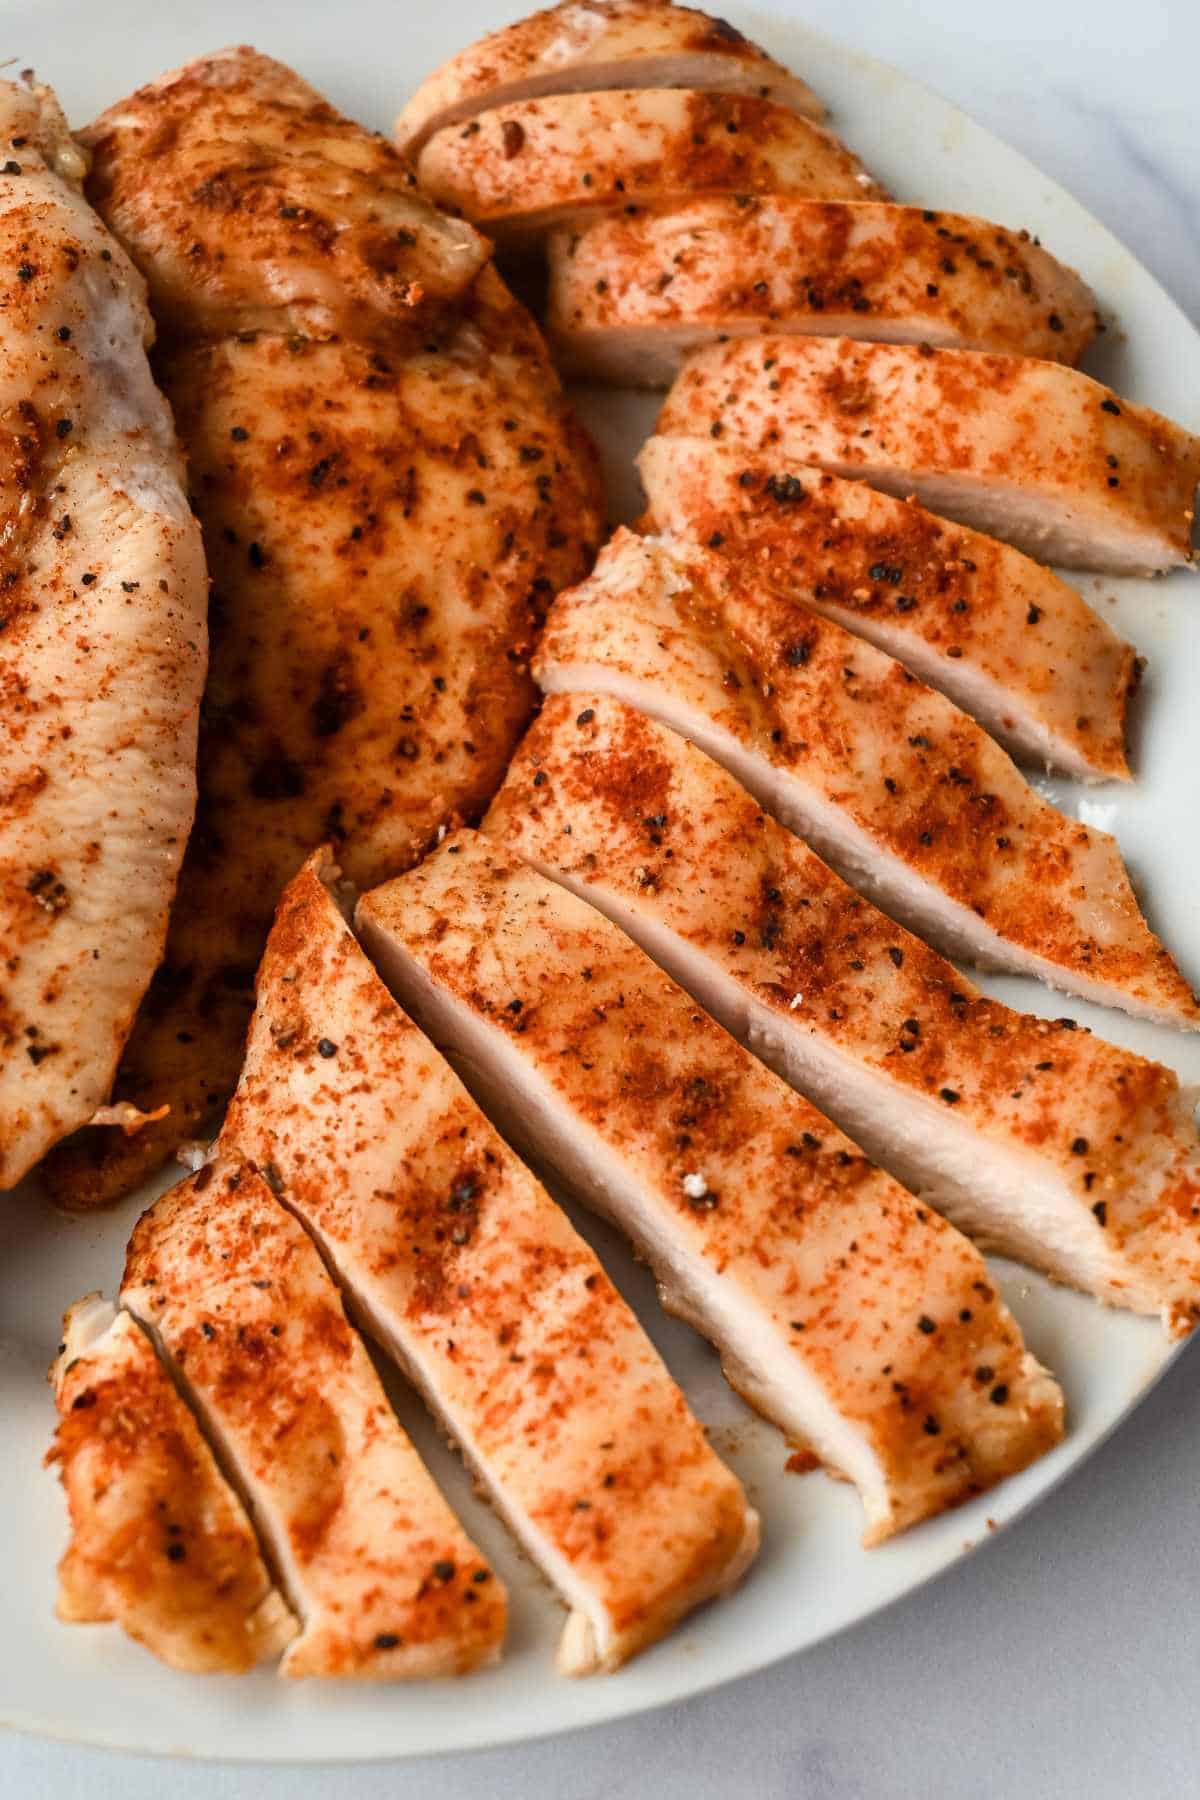
Now, let's get to making the nuggets themselves. First, you'll want to get your chicken ready. If you are using chicken breast, pat the pieces dry with a paper towel. This helps the coating stick better. Then, you can use your food processor to quickly blend the chicken. This creates a texture that is, kind of, just right for nuggets, making them easy to form.
Once your chicken is prepared, it's time to coat each piece. Take a small portion of the chicken mixture and form it into a nugget shape. It doesn't have to be perfect, just a size that is easy to eat. Then, you will dip this chicken piece into the first bowl with the flour mixture, making sure it gets covered all over. Tap off any extra flour, too.
Next, move the floured chicken piece to the second bowl, which has the egg and water mixture. Dip it in there, letting it get completely wet. Let any excess egg drip off before moving to the final step. This step is, you know, very important for the breadcrumbs to hold on properly.
Finally, place the chicken piece into the third bowl, with the panko breadcrumbs. Press the breadcrumbs onto the chicken gently, making sure it is fully coated on all sides. You want a good, even layer of panko. Set the coated nugget aside on a plate or tray, and then repeat these steps for all the remaining chicken. This assembly line approach makes the work go pretty fast, actually.
Achieving Perfect Crispiness: Frying Tips
Getting that truly crispy, golden outer layer on your chicken nuggets is all about the frying process. The first and most important thing is the oil temperature. You need to heat about one inch of vegetable or canola oil in your Dutch oven. The temperature needs to reach 350 degrees Fahrenheit. Using a thermometer is, frankly, the best way to make sure it's just right. If the oil isn't hot enough, the nuggets will soak up too much oil and won't be as crispy; if it's too hot, they might burn on the outside before cooking through.
When you put the nuggets into the hot oil, do not overcrowd the pan. This is a common mistake, but it can really affect the outcome. If you put too many nuggets in at once, the oil temperature will drop quickly. This leads to soggy nuggets instead of crispy ones. Cook them in batches, giving each nugget enough space to cook evenly. It might take a little longer overall, but the results are, you know, worth it.
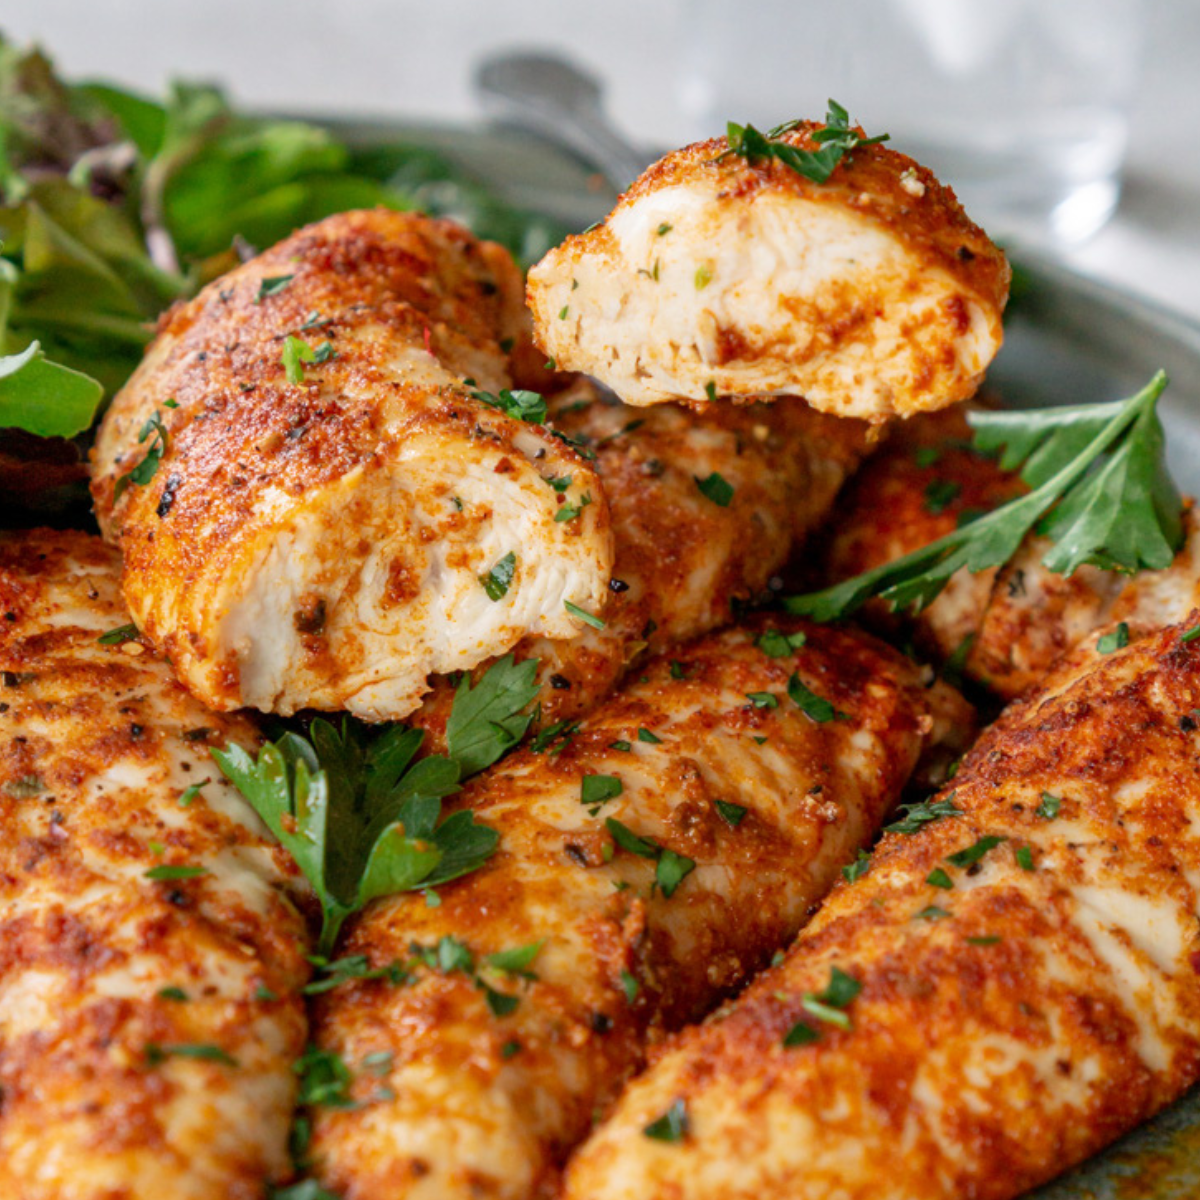
Cook the nuggets until they are golden brown and look crispy on all sides. This usually takes just a few minutes per batch. Once they are done, use a slotted spoon or tongs to carefully remove them from the oil. Place them on a wire rack set over a paper towel-lined plate. This allows any extra oil to drip off, which helps them stay crispy. It’s a small step, but it makes a big difference in the final texture, honestly.
Serving Up Your Golden Bites
Once your homemade chicken nuggets are cooked to a beautiful golden color and have that appealing crispiness, they are ready to be enjoyed. These are best served warm, right after they come out of the oil. That's when their texture is at its peak, and the flavors are, like, really vibrant. They make a great main course for a family dinner, or they can be a very tasty appetizer for guests, too.
The fun part about chicken nuggets is pairing them with your favorite dipping sauces. You can go with classic choices like ketchup or barbecue sauce. Or, you might want to try something a little different, like honey mustard, a creamy ranch dressing, or even a sweet and sour sauce. Having a few different options lets everyone pick what they like best, which is, you know, always a good idea for a meal.
These homemade nuggets, with their great taste and crispy coating, are a wonderful addition to any meal. They prove that making something delicious and satisfying at home doesn't have to be a big project. So, gather your ingredients, set up your station, and get ready to enjoy some truly good chicken nuggets. Learn more about making meals at home on our site, and you can also find more quick dinner ideas here.
Frequently Asked Questions About Homemade Nuggets
How long does it take to make these chicken nuggets from start to finish?
This homemade chicken nugget recipe takes about 25 to 30 minutes from when you start preparing until they are ready to eat. This includes all the steps, from getting the chicken ready to frying the last batch. It’s a pretty quick way to get a good meal on the table, actually.
What kind of chicken is best for making homemade nuggets?
Chicken breast is typically used for this recipe, as it is a lean cut that works well for nuggets. You can also use chicken tenderloins if you prefer. The key is to make sure the chicken is fresh and prepared properly for blending, so, you know, it gets the right texture.
Can I make these chicken nuggets without a food processor?
While a food processor makes blending the chicken very efficient and helps achieve a consistent texture, you could, in theory, finely mince the chicken by hand. However, using the food processor is recommended for the best results and to save a lot of time, too. It makes the process much simpler, really.
Related Resources:
Detail Author:
- Name : Prof. Alejandrin Kshlerin IV
- Username : uernser
- Email : camila.runolfsson@yahoo.com
- Birthdate : 1972-11-13
- Address : 8417 Helena Drives Suite 639 Okunevastad, LA 68022-6336
- Phone : 515-859-1052
- Company : Stehr-McDermott
- Job : Middle School Teacher
- Bio : Autem debitis provident enim modi. Voluptatem qui consequatur consequuntur quas. Dolorem et harum rerum ut.
Socials
linkedin:
- url : https://linkedin.com/in/lschneider
- username : lschneider
- bio : Facilis saepe veniam dicta iusto.
- followers : 2088
- following : 1235
facebook:
- url : https://facebook.com/laurel_schneider
- username : laurel_schneider
- bio : Ut omnis consequuntur voluptas officiis officia.
- followers : 3361
- following : 249
