There's just something truly special about a perfectly golden, wonderfully crunchy onion ring, isn't there? That satisfying snap when you bite into one, followed by the sweet, tender onion inside, is a taste experience that, very, few other snacks can match. For many of us, these delightful circles of flavor bring back happy memories of diners, summer cookouts, or perhaps a favorite restaurant meal. It's a comfort food classic that, you know, always seems to hit the spot.
But what if you could make those amazing, restaurant-quality onion rings right in your own kitchen? Imagine the aroma filling your home, the pride of serving up a batch of these beauties that you made yourself. It's a lot simpler than you might think to achieve that ideal crispiness and flavor, and honestly, the results are so much better than anything store-bought.
This guide will walk you through everything you need to know to create your very own batch of fantastic onion rings. We'll go over the basics and get you brushed up on the best ways to pick your onions, prepare them just right, and get that coating perfectly crisp. You'll soon be making onion rings that everyone will ask for, time and again, which is pretty cool.
Table of Contents
- A Classic Treat: Why We Love Onion Rings
- Gathering Your Ingredients: What You'll Need
- The Heart of the Matter: Choosing Your Onions
- Getting Ready: Preparing Your Onions for Perfection
- Crafting the Coating: The Secret to Crispy Rings
- Frying for Flavor: Cooking Your Onion Rings Just Right
- Air Fryer Magic: A Lighter Option
- Serving Suggestions: What to Pair with Your Rings
- Troubleshooting Tips: Fixing Common Onion Ring Woes
- Frequently Asked Questions About Onion Rings
- Make Your Own Onion Rings
A Classic Treat: Why We Love Onion Rings
Onion rings have a special place in many hearts, a truly beloved side dish or snack. They offer a delightful contrast of textures and tastes: the slight sweetness of the onion, the savory, seasoned coating, and that satisfying crunch that just makes you smile. It's a simple pleasure, really, but one that brings a lot of joy.
Making them at home gives you complete control over the flavor and how crispy they get. You can adjust the seasonings to your liking, maybe add a little extra spice, or keep them mild. It's a bit like when you're working on a presentation; you get to choose the videos, images, and drawings to make it just right, don't you? The care you put in shows in the final product.
There's a certain satisfaction that comes from creating something delicious from scratch. It’s like getting stuff done, whether it’s a big project at work or a tasty meal for your family. The effort feels worthwhile when you see everyone enjoying the fruits of your labor, and with homemade onion rings, that enjoyment is pretty much guaranteed.
- Adam Levine Wife
- Ravi Shastri Cricket
- Candii Kayn Curvage
- Sp Activation Services
- Jack Doherty Girlfriend
Gathering Your Ingredients: What You'll Need
To start making your very own batch of amazing onion rings, you'll need a few key items. These ingredients work together to give you that perfect texture and taste. Having everything ready before you begin, you know, makes the whole process smoother.
- Large Sweet Onions: Such as Vidalia or yellow onions, about 2 or 3 of them. These are the star of the show, obviously.
- All-Purpose Flour: You'll need about 1.5 cups for the batter. This forms the base of the coating, giving it structure.
- Cornstarch: About 1/2 cup. This is a bit of a secret ingredient for extra crispiness, making the rings light.
- Baking Powder: Just 1 teaspoon. This helps the batter get nice and airy, creating a puffy coating.
- Salt: About 1 teaspoon, plus more for sprinkling after frying. Salt brings out all the flavors.
- Black Pepper: About 1/2 teaspoon. This adds a little warmth and spice to the coating.
- Cold Milk or Buttermilk: About 1 cup. The cold liquid helps keep the batter light and prevents gluten from developing too much, so, that's important.
- Large Eggs: 2 of them. Eggs help bind the batter together, making it stick to the onion.
- Vegetable Oil (or similar high smoke point oil): Several cups for frying. This is what will cook your rings to golden perfection.
Having these items on hand means you're ready to create something truly delicious. It’s all about getting the components right, much like gathering all your notes and materials before you start to learn more about presentations on our site.
The Heart of the Matter: Choosing Your Onions
The type of onion you pick truly makes a difference in the final taste of your rings. While you can use almost any onion, some types really shine when fried. A good choice is a very sweet onion, as it balances the savory coating nicely.
Sweet onions, like Vidalia or Walla Walla, are often a top pick. They have a milder flavor and a higher sugar content, which caramelizes beautifully when cooked. This gives your onion rings a lovely, subtle sweetness that many people find appealing. Yellow onions also work quite well; they have a bit more pungency but still mellow out nicely with cooking, so they are a good, general purpose choice.
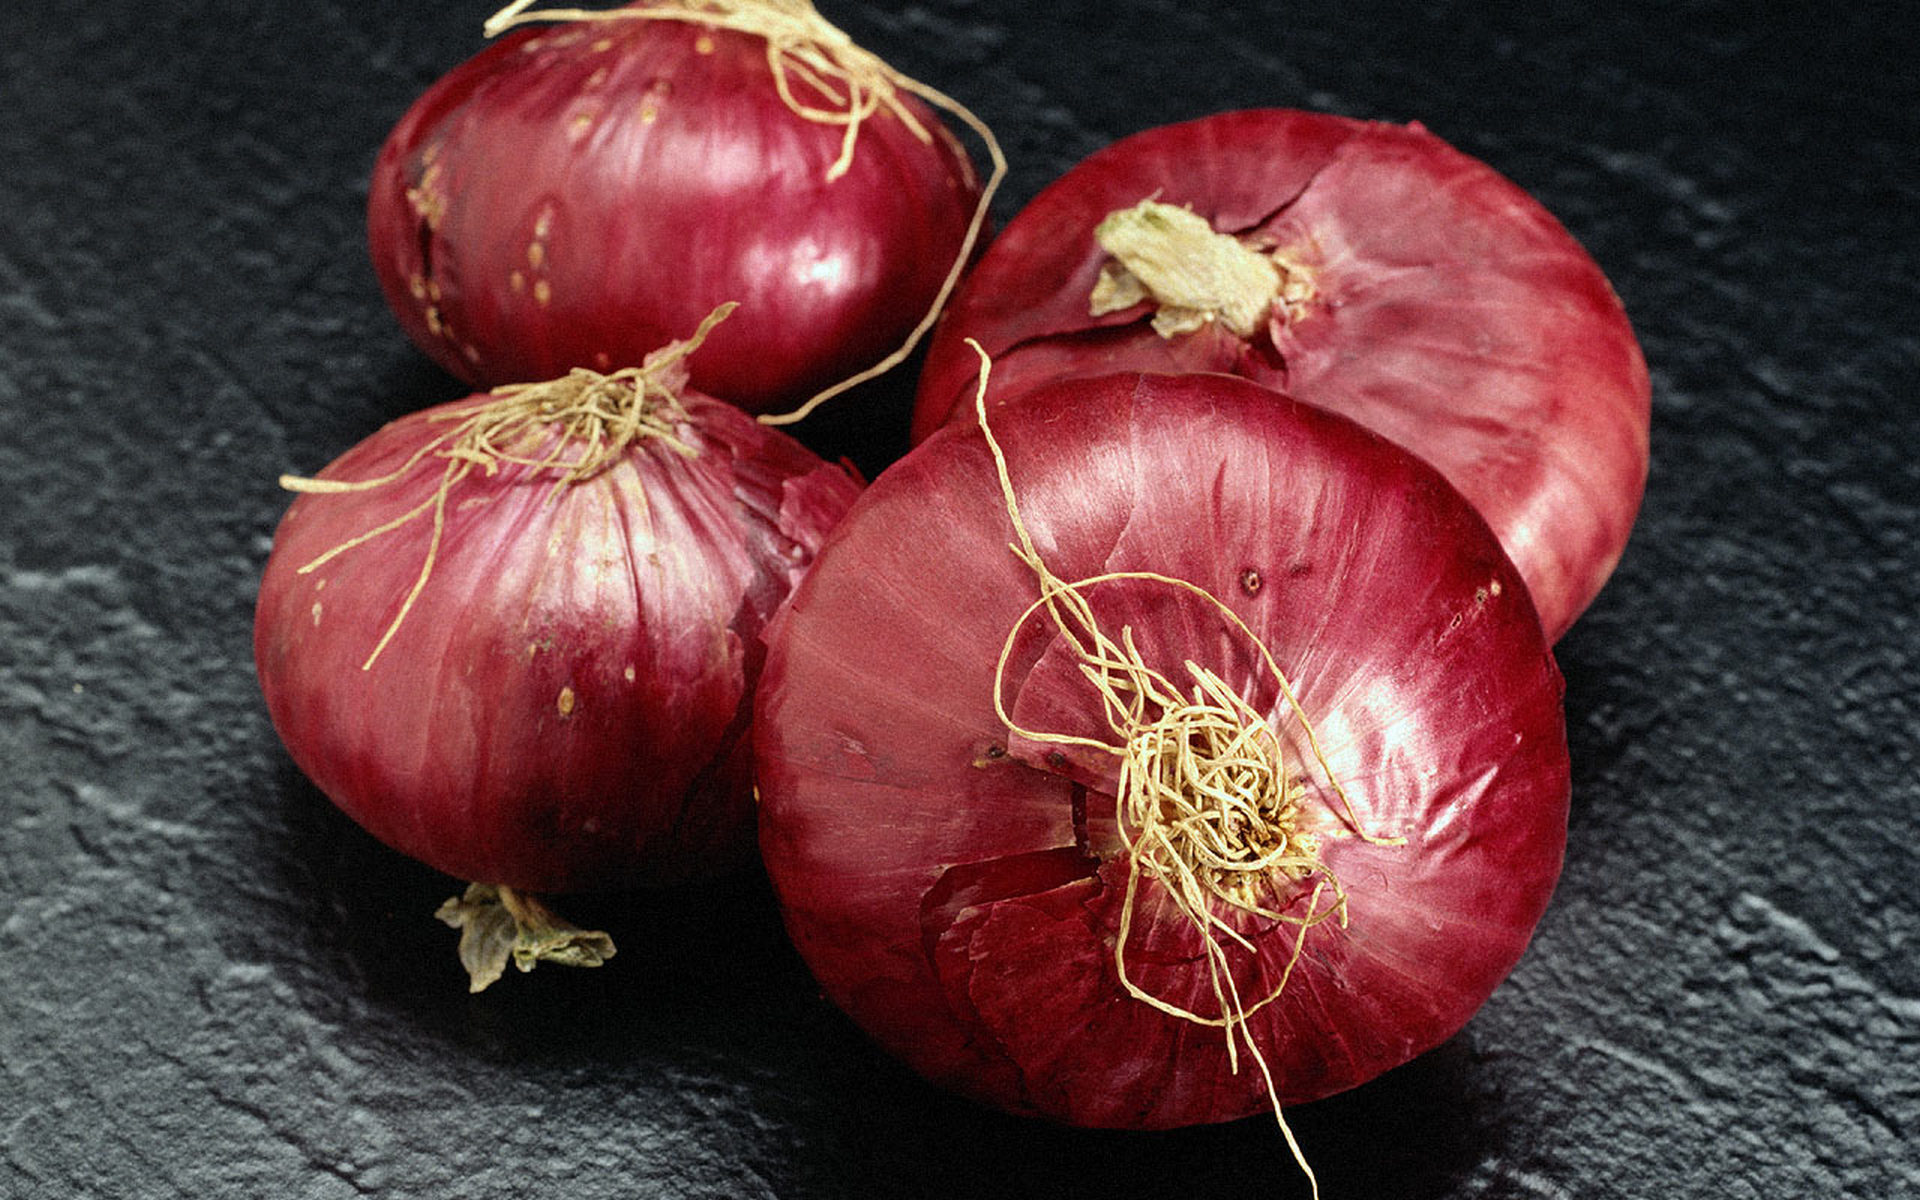
Red onions, while pretty, can sometimes be a little too strong for some folks in an onion ring. They are better suited for salads or other fresh uses, in a way. The goal here is a pleasant, not overwhelming, onion taste that complements the crispy outside. Picking the right onion is, honestly, a big step towards success.
Getting Ready: Preparing Your Onions for Perfection
Once you've chosen your onions, getting them ready is the next step. Proper preparation helps ensure even cooking and a great texture. This part is pretty straightforward, but it makes a big impact, you know, on the outcome.
First, peel your onions and slice them into rings about 1/4 to 1/2 inch thick. You want them thick enough to hold their shape but thin enough to cook through. Try to keep the thickness consistent so they all cook at the same pace. This attention to detail is similar to how you might want all your slides to have smooth transitions in a presentation.
After slicing, separate the rings. You'll find that some rings are too small to be useful, so just set those aside for another use, like a stir-fry. Then, here's a helpful tip: place your separated onion rings into a bowl of ice water for at least 15-30 minutes. This step is, actually, quite important. The cold water helps to reduce the onion's sharpness and also makes them firmer, which helps them hold up better during frying. It’s a simple trick that, truly, pays off.
When you're ready to coat them, make sure to drain the onions very well and pat them dry with paper towels. Any excess water will thin out your batter and make it harder for the coating to stick. Getting them as dry as possible is, basically, key for that really good crispiness.
Crafting the Coating: The Secret to Crispy Rings
The coating is what gives onion rings their signature crunch and flavor. Making the right batter is, honestly, crucial for a truly great result. We're aiming for a light, airy, and super crispy shell that adheres well to the onion.
In a medium bowl, whisk together your all-purpose flour, cornstarch, baking powder, salt, and black pepper. The cornstarch, as mentioned, is a bit of a hero here, helping to create a lighter and crispier texture than flour alone. It's a small addition that makes a big difference, very, much so.
In a separate bowl, whisk your eggs and then add the cold milk or buttermilk. Buttermilk gives a slightly tangy flavor and can help tenderize the onion a bit, but regular cold milk works perfectly fine too. The cold temperature of the liquid is important because it helps keep the batter from becoming too dense when it hits the hot oil, so, that’s something to remember.
Now, gradually pour the wet ingredients into the dry ingredients, whisking until just combined. A few lumps are perfectly okay; don't overmix, as that can develop the gluten in the flour and make your coating tough. You want a batter that is thick enough to cling to the onion rings but still pourable, kind of like a pancake batter, but maybe a little thinner. This careful mixing is, really, similar to how you might refine a project to get the best outcome.
Once your batter is ready, it's time to coat the onion rings. Dip each ring into the batter, making sure it's fully covered. Let any excess batter drip off before carefully placing the ring into the hot oil. This ensures an even coating and prevents too much batter from clumping up in the fryer, which can lead to soggy spots. It's a delicate process, but very rewarding when done right.
Frying for Flavor: Cooking Your Onion Rings Just Right
Frying is where the magic happens, transforming your coated onions into golden, crunchy rings. Getting the oil temperature just right is, without a doubt, the most important part of this step. Too cool, and your rings will be greasy; too hot, and they'll burn before the onion cooks.
Pour several inches of vegetable oil into a heavy-bottomed pot or Dutch oven. You'll want enough oil so the rings can float without touching the bottom. Heat the oil over medium-high heat until it reaches about 350-375°F (175-190°C). A kitchen thermometer is, honestly, your best friend here. If you don't have one, you can test the oil by dropping a tiny bit of batter in; it should sizzle immediately and float to the top.
Carefully place a few coated onion rings into the hot oil, making sure not to overcrowd the pot. Frying in batches is essential. Overcrowding will drop the oil temperature too much, leading to greasy rings. Give them space to cook evenly, which is, you know, a pretty good idea.
Fry the rings for about 2-4 minutes, flipping them once or twice, until they are beautifully golden brown and crispy. The exact time will depend on your oil temperature and the thickness of your rings. Keep a close eye on them, as they can go from perfect to burnt pretty quickly, so, stay alert.
Once they're done, use a slotted spoon or tongs to remove the onion rings from the oil. Place them on a wire rack set over a baking sheet lined with paper towels. This allows excess oil to drain off, keeping them crisp. Immediately sprinkle them with a little extra salt while they're hot. This helps the salt stick and really brings out the flavor. You'll find that this step, in some respects, truly finishes them off.
Air Fryer Magic: A Lighter Option
For those looking for a lighter take on the classic, the air fryer is a fantastic tool. While it won't give you the exact same deep-fried texture, it still produces wonderfully crispy results with much less oil. It's a pretty good alternative, especially if you're trying to cut down on fat, basically.
To make air fryer onion rings, you'll still follow the same steps for slicing and preparing your onions, including the ice bath. For the coating, you might want to use a slightly thicker batter or even a breading station (flour, egg wash, breadcrumbs) for a more pronounced crust. After coating, lightly spray the rings with cooking spray or brush with a little oil. This helps them get golden and crispy in the air fryer, you know, just like in a regular fryer.
Preheat your air fryer to 375-400°F (190-200°C). Arrange the coated onion rings in a single layer in the air fryer basket, making sure not to overlap them. You'll likely need to work in several batches. Cook for 8-12 minutes, flipping them halfway through, until they are golden brown and crisp. Cooking times can vary between air fryer models, so keep an eye on them, as a matter of fact.
Check for crispiness and adjust cooking time as needed. They might not be as uniformly golden as deep-fried ones, but they will be satisfyingly crunchy and delicious. This method is, arguably, a healthier way to enjoy your favorite snack without feeling too guilty.
Serving Suggestions: What to Pair with Your Rings
Once your homemade onion rings are ready, the fun continues with what to serve them with. They are, of course, fantastic on their own, but pairing them with the right dips or meals can make the experience even better. There are so many options, you know.
For dipping, classic choices like ketchup are always a hit. But why stop there? A creamy ranch dressing offers a cool contrast, while a spicy sriracha mayo adds a pleasant kick. Some people really like a tangy BBQ sauce, or even a simple garlic aioli. You could even whip up a quick homemade "blooming onion" sauce with mayonnaise, horseradish, and a dash of hot sauce. The possibilities are, truly, pretty endless.
Onion rings make an excellent side dish for so many meals. Think about serving them alongside juicy burgers, grilled chicken sandwiches, or even a classic hot dog. They also pair wonderfully with a crisp green salad for a balanced meal, or as part of a larger appetizer spread for a party. They are, basically, versatile and always welcome at the table.
Don't forget a cold drink to go with them! A frosty glass of lemonade, an iced tea, or your favorite soda makes the perfect companion to these savory treats. Sharing them with friends and family is, usually, the best way to enjoy them, creating a fun and tasty moment for everyone involved.
Troubleshooting Tips: Fixing Common Onion Ring Woes
Even with the best intentions, sometimes things don't go exactly as planned. But don't worry, most common onion ring issues have simple fixes. Knowing what to look for can help you get perfect results every time, which is, you know, pretty helpful.
Soggy Rings
If your onion rings come out soggy instead of crispy, the most common culprit is oil that isn't hot enough. When the oil temperature drops, the batter absorbs more oil instead of cooking quickly and forming a crisp crust. Always make sure your oil is at the correct temperature (350-375°F) before adding the rings. Also, avoid overcrowding the pot, as this will drastically lower the oil temperature. Frying in smaller batches is, basically, key to keeping the oil hot and the rings crisp. And remember to drain them on a wire rack, not directly on paper towels, to allow air to circulate.
Coating Falling Off
If your batter is slipping off the onions, there are a few things to check. First, make sure your onion rings are completely dry after their ice bath. Any moisture on the onion will prevent the batter from sticking properly. Second, ensure your batter has the right consistency; it should be thick enough to cling to the onion but not so thick that it creates a heavy, gloopy layer. Sometimes, a quick dredge in a little flour before dipping in the batter can help the batter adhere better, which is, honestly, a neat trick.
Burnt Outside, Raw Inside
This usually happens when the oil is too hot. The outside cooks and browns too quickly, while the inside of the onion doesn't have enough time to soften. Use a thermometer to monitor your oil temperature closely. If it gets too hot, remove the pot from the heat for a minute or two to let it cool down slightly before continuing to fry. Cooking at a consistent, moderate temperature ensures that both the coating and the onion cook through evenly, making for a perfectly balanced bite, you know, every time.
Frequently Asked Questions About Onion Rings
People often have questions when they're making onion rings at home. Here are a few common ones, with some helpful answers to guide you, which is, honestly, pretty useful.
What kind of onion is best for onion rings?
Sweet onions, like Vidalia or Walla Walla, are often considered the best choice. Their mild flavor and natural sweetness caramelize beautifully when fried, giving you a delicious, balanced taste. Yellow onions also work very well, offering a slightly more robust onion flavor that still mellows out nicely with cooking. It really depends on your preference, but sweet onions are, generally, a crowd-pleaser.
Why do my onion rings get soggy?
Soggy onion rings are a common issue, and it usually comes down to the oil temperature. If your frying oil isn't hot enough (ideally between 350-375°F), the batter will absorb too much oil instead of crisping up quickly. Overcrowding the pot can also cause the oil temperature to drop, leading to soggy results. Always fry in small batches and ensure your oil is at the right temperature for truly crispy rings. Also, draining them on a wire rack after frying helps a lot, allowing air to circulate, which is, basically, important.
Can I make onion rings ahead of time?
While onion rings are best enjoyed immediately after frying for maximum crispiness, you can prepare the onion slices and batter ahead of time. Keep the sliced onions in an ice bath in the refrigerator, and store the batter separately in an airtight container in the fridge for up to a day. When you're ready to cook, simply dry the onions, dip them in the batter, and fry. If you have leftover fried rings, you can reheat them in an air fryer or oven at 350°F (175°C) for a few minutes to crisp them up again, which, you know, works pretty well.
Make Your Own Onion Rings
Making your own crispy homemade onion rings is a truly rewarding experience. The process, while requiring a bit of care, is straightforward, and the delicious outcome is well worth the effort. It's a bit like putting together a great presentation; you gather your elements, arrange them just right, and then present them for everyone to enjoy. The feeling of accomplishment is, really, quite satisfying.
We've covered everything from choosing the right onion to getting that perfect, crunchy coating, and even how to use an air fryer for a lighter version. You now have the knowledge and steps to create a batch of onion rings that will impress everyone who tries them. So, why not give it a try today? You might just discover your new favorite homemade snack.
For more delicious recipes and cooking tips, check out this popular food site. And if you're interested in making your cooking process smoother, you might find some useful ideas on how to organize your kitchen, just like you would organize your digital files for easy access.
Related Resources:

Detail Author:
- Name : Bethel Corkery
- Username : heath01
- Email : tfeeney@wisozk.biz
- Birthdate : 1976-08-28
- Address : 487 Birdie Roads Apt. 977 Port Mallie, MN 61864
- Phone : (651) 502-3613
- Company : Franecki, Littel and Tromp
- Job : Postal Service Clerk
- Bio : Non quisquam atque ullam tempore et adipisci consequuntur. Minima cupiditate quia numquam repellat blanditiis praesentium. Distinctio totam ut qui sit impedit vel.
Socials
tiktok:
- url : https://tiktok.com/@ryleigh_cummings
- username : ryleigh_cummings
- bio : Veritatis inventore quos natus ad nisi sit iste.
- followers : 2826
- following : 1349
linkedin:
- url : https://linkedin.com/in/cummings1974
- username : cummings1974
- bio : At enim vel quo est ea dicta natus.
- followers : 4352
- following : 2347
instagram:
- url : https://instagram.com/cummingsr
- username : cummingsr
- bio : Facere nesciunt eos qui repellendus quibusdam. Laboriosam eveniet debitis animi eos.
- followers : 3099
- following : 2543
facebook:
- url : https://facebook.com/ryleigh_cummings
- username : ryleigh_cummings
- bio : Est consectetur optio error minima. Nobis suscipit magnam dolores repellat ea.
- followers : 949
- following : 2559
